Frequently asked questions
Everything you need to know about our custom furniture service
-
If your design is a single- or double-door cabinet, click on “Add-ons” (
 ) in the main menu.
(For some products, there may be many options, so you might need to scroll the menu to the right.) -
From the options that appear, select the Door Mirror section.
(If there are many options here as well, you may need to scroll to the right.) -
After clicking on the door you want, activate the Mirror button (
 ). This will add a mirror to your selected door.
Note: If you change the mirrored door (for example, from right-opening to left-opening), the mirror will be removed from the door.
You can adjust the product height in three different ways:
1. Overall Height
From the main page, click General and use the Height option to increase or decrease the overall height of the product.
Note: Any change will automatically distribute the new height evenly across the shelves.
2. Column Height
The system allows you to set a separate height for each column. To do this, click General from the main page and select Column’s Height ( ).
).
The system will automatically select the leftmost column. Then, use the slider to set the desired height.
Note: The maximum height of each column cannot exceed the overall product height.
3. Shelf Height (Compartment Height)
From the main page, click General ( ) and select Inner Compartment’s Height.
By default, the system selects the leftmost and lowest shelf. After selecting the desired shelf, use the slider to adjust its height.
Note: Foot Height
In many products, you can adjust the height of the feet.
-
Changing the foot height does not alter the overall product height, but increasing it reduces the usable space within the columns.
-
Adjusting the foot height may cause the system to redistribute the column space among the shelves, which can override your previous shelf settings.
Recommendation: First, set the overall product height and the foot height, then adjust the shelf heights.
To adjust foot height, click Feet in the main menu ( ) and use the slider in the Feet section to set the desired height.
Changing your product’s color is easy and can be done in three main sections:
-
Panels:
Open the “Material” ( )menu. All customizable sections of the product (top, bottom, columns, etc.) will be displayed here.
Select a section, choose the material type from the dropdown menu, and then pick your desired color from the list. -
Legs:
From the main page, select the “Legs” menu( ). Color changes here apply only to the legs.
Choose the material type from the dropdown and select the color from the list. -
Handles:
Open the “Door” menu ( ) from the main page and go to the Handles section.
If the handle type is not “Push-to-Open,” you can select its color from the lower menu.
💡 Using this method, you can easily personalize the color of every part of your product to match your style!
-
Click on the Save (
 ) option in the main menu.
 -
If you are not signed in, log in to your account or create a new user account.
-
Once saved, your design will be stored in the My Designs section.
Notes:
-
You can sign in using your Gmail account.
-
You can access the My Designs section from the main menu.
You’re not actually manufacturing the product yourself—you’re designing it.
Woodcoder acts like a skilled carpenter, turning your design into a real product and delivering it straight to your door.
To get started:
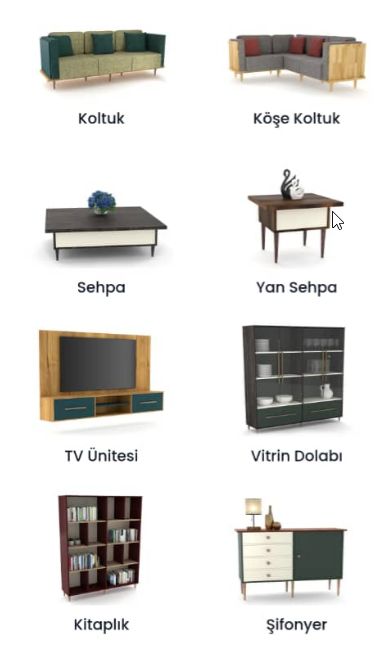
Select a main category based on the type of product you want to create, such as Living Room, Dining Room, Hallway, or Bedroom.
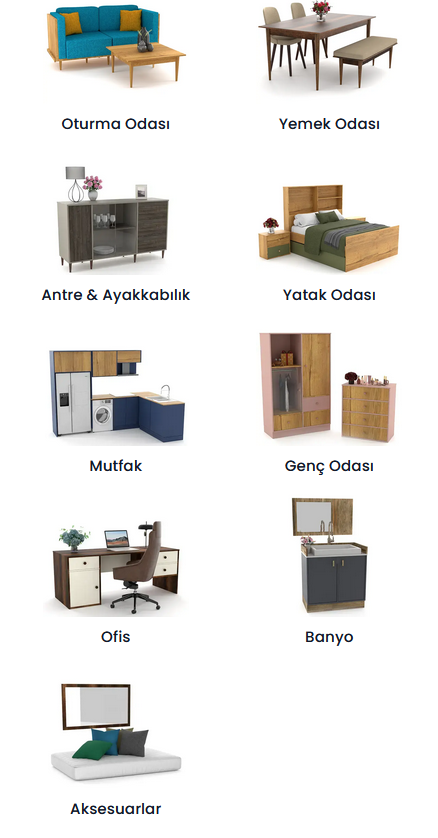
A list of products in that category will appear. Choose the product you want.
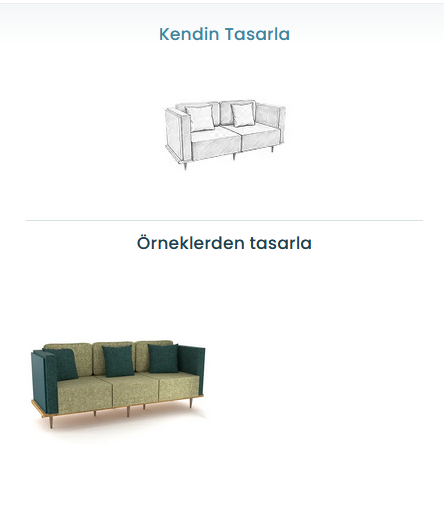
After selecting a product, you’ll usually see a page with a Pencil Sketch at the top and several ready-made product examples.
-
-
To edit an existing product, click on that product.
-
To create a completely custom design from scratch, click on the Pencil Sketch.
-
-
Click on the “Add-ons” (
 ) option in the main menu.
(For some products, there may be many options, so you might need to scroll the menu to the right.) -
From the options that appear, select the Clothes Hanger (
 ) section.
(If there are many options here as well, you may need to scroll to the right.) -
After clicking on the shelf you want, activate the Clothes Hanger(
 ) button. This will add a hanger to your selected shelf.
-
Click on “Add-ons” (
 )in the main menu.
(For some products, there may be many options, so you might need to scroll the menu to the right.) -
From the options that appear, select the Locks section.
(If there are many options here as well, you may need to scroll to the right.) -
After selecting the door you want, activate the Door Lock button (
 ). This will add a lock to your chosen door.
-
From the main menu, select the “Door” option (
 ) .
) . -
In the “Box Type” section, choose the type of door or drawer you want.
-
To apply the same door or drawer type to an entire column, select all the shelves in that column.
-
To remove a door or drawer, select the Empty (
 ) option.
Note: Some door or drawer models may not be available depending on the column width.
At any time, you can use the Share ( ) icon to give your design a name and send it to your friends via social media.
Shipping is free at certain times. In the configurator, "Free shipping included" will appear next to the price. In the cart, you will see "Zero" next to the shipping amount when shipping is free.
The system offers two types of lighting:
1. Shelf Lighting
-
Click on “Add-ons” (
 ) in the main menu.
(For some products, there may be many options, so you might need to scroll the menu to the right.) -
From the options that appear, select the Lights section.
-
After selecting the shelf you want, activate the Shelf Light (
 )button.
2. Under-Product Lighting
For wall-mounted products, in addition to shelf lighting, you can also add lights to the bottom of the product in the Lights section.
This allows you to place lighting exactly where you want it.
All WoodCoder products are supplied as flat-pack (self-assembly) units, along with an installation guide. The assembly process is quite simple; however, it is recommended that two people perform the assembly for faster and safer results.
If you prefer, the WoodCoder team can handle the installation for you at an additional cost.
In the configurator, click the ( ) icon to undo your last action.
You can repeat this step multiple times to return to the initial stage of your design.
To restore an undone change, click the ( ) icon.
All details regarding order cancellations can be found in the “Return & Cancellation Policy” section.
Please refer to that page for further instructions.
The shopping cart icon ( ) is available on every page of our website. The number inside the icon shows how many items are currently in your cart.
To add your design to the cart, click the icon at the top of the page (  ), go to the “My Designs” page, and click the “Add to Cart” button.
By clicking on the cart icon, you can view its contents — here, you can remove items or adjust their quantities.
After reviewing your selections, click “Buy Now” to proceed to the next step.
In the following step, you will be asked to provide your personal information and delivery address.
Note: On this page, there is a field titled “Carving Name.” If you fill it in, the entered name will be engraved onto your product.
On the next page, you will see the price details of your order. If needed, you can also select on-site assembly or in-building delivery services. Additionally, if you wish to include a toolbox, simply check the corresponding box to add it to your order.
Finally, review your order, confirm the details, and complete your payment to finalize the purchase.
The maximum producible dimensions of a product vary depending on the type of wood you select. In the table below, you can see the maximum width and maximum height values for each material in centimeters.
-
Material Type
Max Width
Max Height
Coated MDF
181
364
Decorative MDF
119
279
Colored MDF
181
364
Natural Walnut
188
348
Natural Pine
188
348
Note:
These limitations are built into the system. Any size that cannot be produced will automatically be disabled and unavailable for selection in the application.